
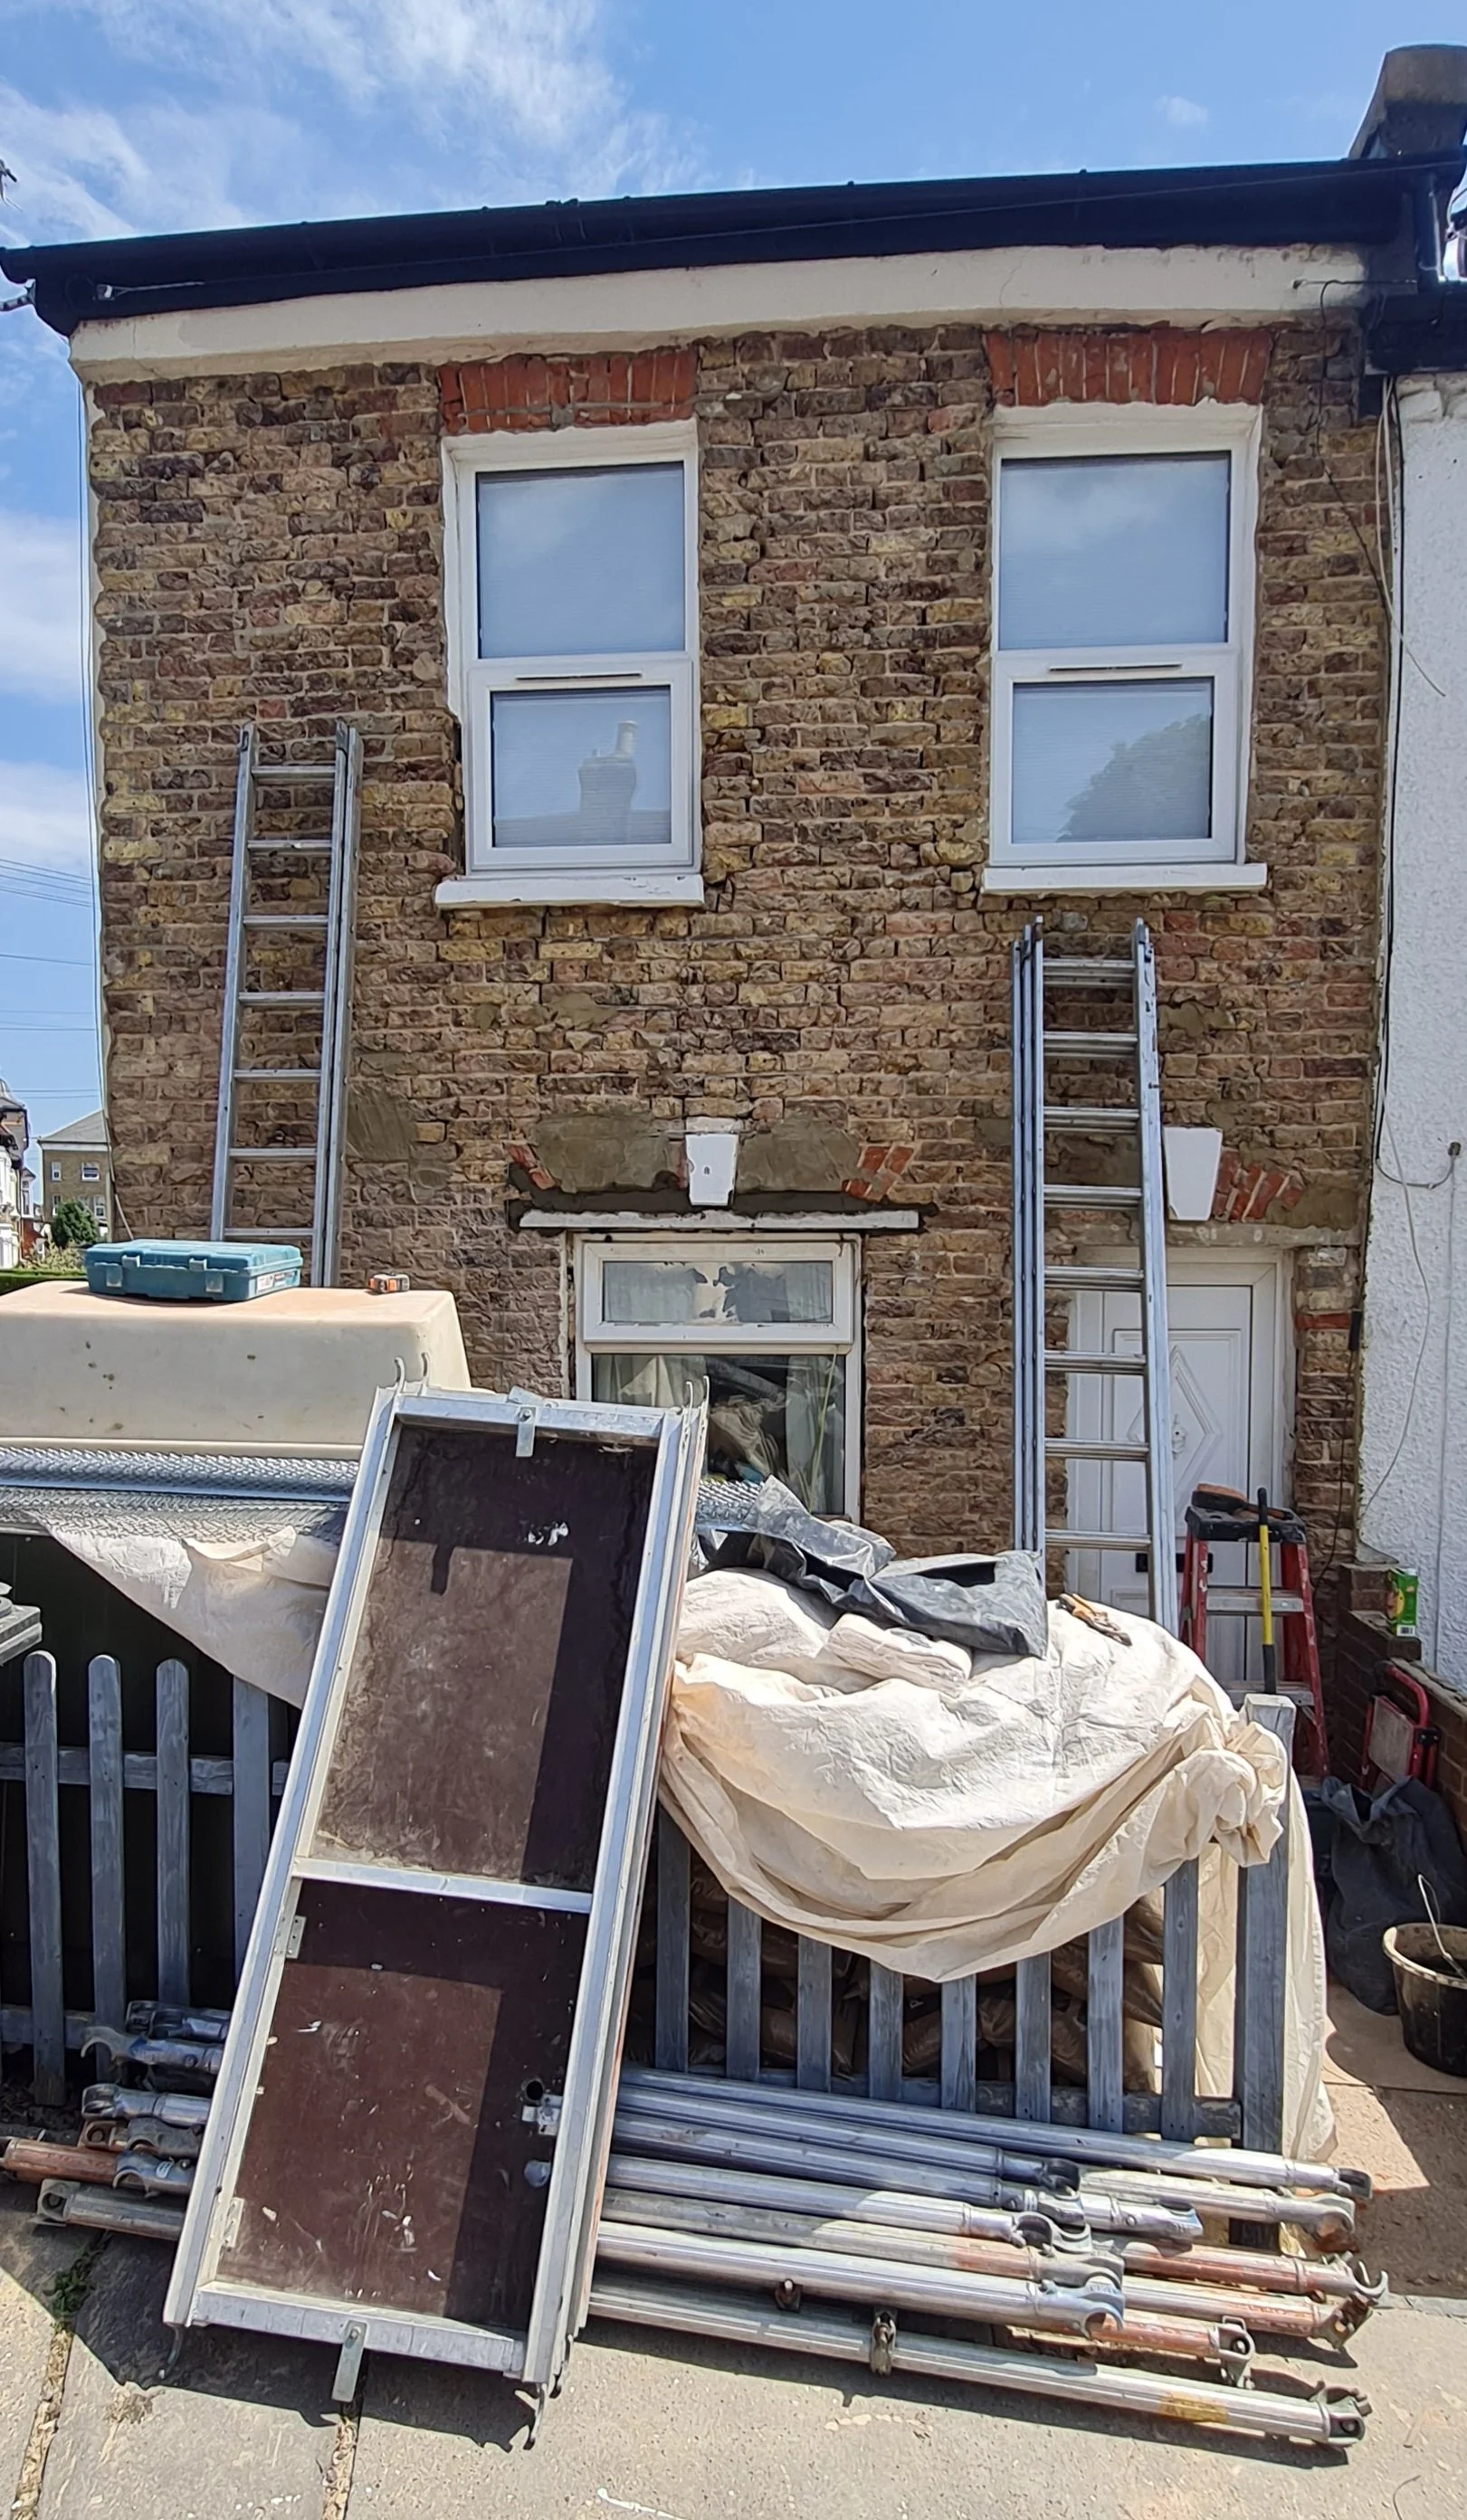
Damp Proofing
A damp-proof course (DPC) became mandatory for new buildings in London in 1875, following the Public Health Act 1875 which enabled widespread local building byelaws. Pre-1875 most older properties had no DPC and relied on breathable, vapour-open construction. The first mandatory DPCs were typically a single or double layer of slate or engineering bricks built directly into the structural walls. 1875 marked the start of compulsory installation in London, with adoption spreading nationally across the UK through local municipal byelaws over the following decades.
How It Works
Stops water travel: Water from the ground moves up through tiny pores in bricks and mortar via capillary action. This is called rising damp.
Blocks moisture: Damp proofing creates a physical or chemical barrier that interrupts this upward journey, protecting the rest of the structure.
Differs from waterproofing: Damp proofing manages standard ground moisture with no hydrostatic pressure, whereas full waterproofing is needed to block standing water or liquid under pressure (like in deep basements).
Our Method
· Damp Proof Course (DPC): A waterproof strip or injected chemical barrier placed low in exterior walls (about 150 mm above ground) to stop rising damp.
· Damp Proof Membrane (DPM): A heavy-duty plastic or polyethylene sheet laid under concrete floors or across walls to keep ground moisture out of living spaces.
· Damp Proof Paint: A specialized coating applied to internal surfaces to seal out minor residual dampness and stop stains.
The solution depends entirely on diagnosing the source of the moisture. Rising Damp (Ground moisture moving up walls): Treating this typically requires a chemical DPC injection, after injecting a chemical DPC, the old, salt-contaminated plaster must be hacked off and replaced with specialist salt-retardant plaster, if a full physical DPC membrane needs to be cut into the walls. Penetrating Damp (Water entering from the outside): This usually requires external repairs, fixing exterior brick re-pointing, If the whole property requires full external re-rendering, scaffolding will be needed. Condensation & Mould (Internal moisture build-up): This is the cheapest fix, it typically involves installing simple bathroom extractor fans, or a whole-house Positive Input Ventilation (PIV) system.
Service Area
〰️ South East London
〰️ Kent
〰️ South West London
〰️ Surrey
〰️ South East London 〰️ Kent 〰️ South West London 〰️ Surrey
Croydon
Crystal Palace
Banstead
Bexleyheath
Bromley
Dartford
Eirth
Eltham
Lewisham
Mitcham
Norbury
Norwood
Peckham
Purley
Streatham
Sutton
Thornton Heath
Twickenham
Wallingham
Wimbledon
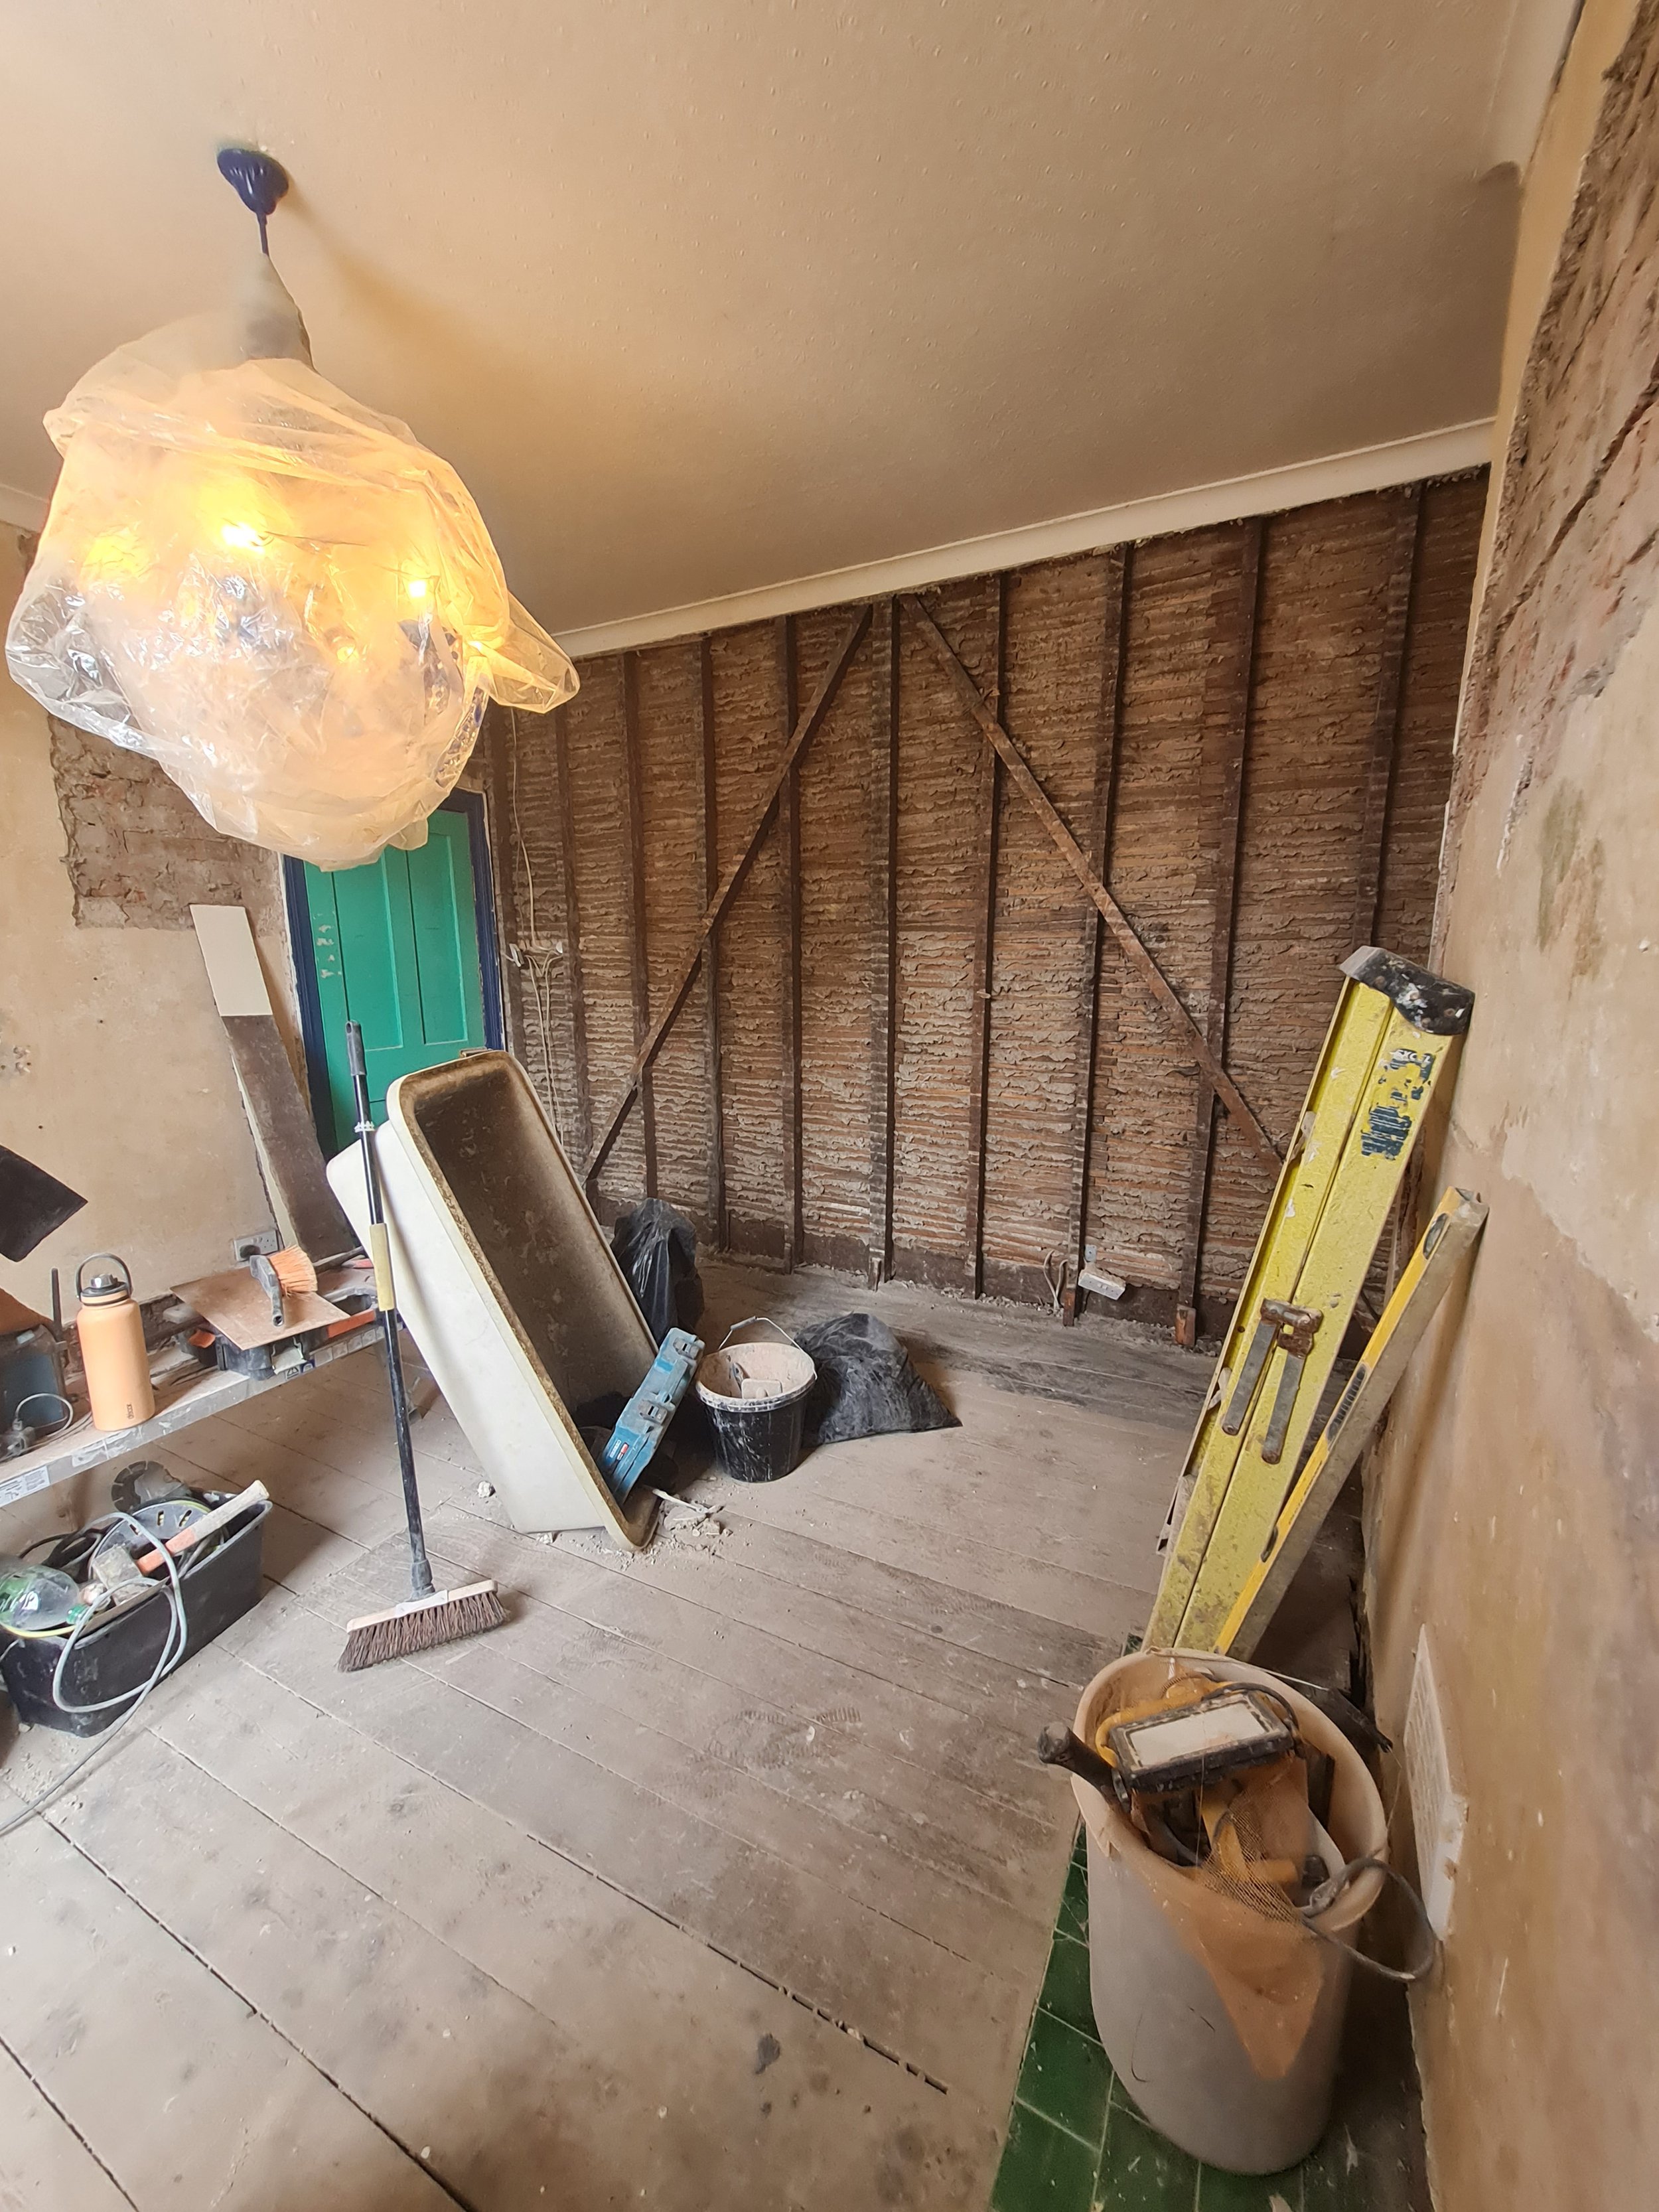
Dry Rot
Dry rot is a destructive wood-decaying fungus that digests structural timber, making wood weak, brittle, and cracked despite its misleading name which actually requires damp conditions to thrive. Dry rot does not grow in dry wood. It requires a moisture content of over 20% in timber to germinate and grow. The name comes from how the wood looks after the fungus destroys it—dry, shrunken, and crumbly. Unlike other fungi, dry rot can spread through non-wooden materials like brick and masonry to reach new wood sources by transporting its own moisture.
Signs of Dry Rot
Mycelium: A white or grey, cotton-wool-like mass that grows on the surface of damp timber.
Cuboidal Cracking: The wood breaks down into deep, cube-like cracks.
Fruiting Bodies: Flat, rust-coloured, mushroom-like structures that release fine orange-red spore dust.
Smell: A damp, earthy, or musty odour similar to mushrooms.
Our Methods
Stop the moisture: Fix leaky pipes, roof leaks, or poor ventilation so the area stays completely dry.
Remove damaged wood: Cut out all rotted wood. Extend your cuts at least 1 to 3 feet past the visible rot to catch hidden fungal strands.
Clean masonry: If the rot touched brick or concrete, wire-brush the surface and apply a specialized masonry fungicide. (Re-render or Re-plaster if necessary)
Treat surrounding areas: Apply a liquid fungicidal treatment to all remaining sound wood and nearby surfaces to kill hidden spores.
Rebuild and replace: Install new, pressure-treated wood, and use damp-proof barriers to isolate the new timber from old masonry
Safety and Health Risks
Direct toxicity: The dry rot fungus (Serpula lacrymans) is not toxic or directly harmful to breathe for most healthy people.
Air quality: Dry rot requires damp conditions to grow, which commonly fosters heavy mould and mildew.
Respiratory issues: Damp air and mould spores can trigger asthma, allergies, coughing, and eye irritation.
Spore dust: Disturbing active dry rot can release spore dust that irritates the eyes and airways.
· Weakened framing: Dry rot destroys the cellulose in timber, making load-bearing joists, floorboards, and roof rafters brittle and weak.
· Risk of collapse: Severe, untreated rot can cause floors or stairs to collapse, creating an immediate physical hazard.
· Localized vs. widespread: Small patches on non-structural trim (like a skirting board) are safe to live with temporarily, while rotting structural supports require immediate professional evaluation

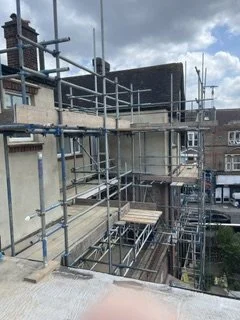
Rendering
Rendering a wall is the process of applying a protective and decorative coating of mortar—usually made from cement, sand, water, and lime—to the exterior brickwork or blockwork of a building.
Rendering vs. Plastering
Rendering is used on exterior walls and uses a stronger, heavier mix that can fight harsh weather.
Plastering is used on interior walls and uses a finer mix to create a smooth surface for painting.
Common Types of Renders
Cement render: A traditional mix of sand and cement that is affordable and durable.
Silicone render: A premium, flexible, and highly water-resistant option.
Lime render: A breathable material often used on older, historic properties.
Acrylic render: A waterproof topcoat applied over a base layer.
Why Render a Wall
You render a wall to protect exterior brickwork from weather damage, prevent penetrating damp, and give a property a clean, modern appearance. Refreshing structurally sound but ugly or weathered block-work with a clean, professional finish can boost market value by 2% to 10%. Quality breathable systems (such as silicone or lime render) seal out moisture and prevent dampness in appropriate properties. Pairing render with External Wall Insulation lowers heating bills and can improve a home’s Energy Performance Certificate (EPC) rating.
Our Method
1. Clean the wall with a stiff brush to remove dirt, dust, and loose material. Repair any cracks or holes with mortar or filler. Spray the brick or block work thoroughly with water so it is damp, which stops the wall from sucking moisture out of the render too fast.
2. Use a standard sand-and-cement mix (typically 4 parts sharp plastering sand to 1 part cement) or a pre-mixed rendering product. Add a waterproofing additive or hydrated lime for flexibility and crack prevention. Mix with water using a paddle mixer until it reaches a thick, smooth, putty-like consistency.
3. Scoop the render onto a plastering hawk and use a steel trowel to press it firmly onto the wall at a 45-degree angle. Aim for a thickness of about 5 mm to 10 mm. Use a straight edge or feather edge to rule the surface flat. Scratch horizontal grooves into this wet base coat using a scarifier or comb to create a mechanical "key" for the next layer, then let it set.
4. Dampen the cured scratch coat with water. Apply the second coat of render at around 5 mm to 6 mm thickness using your trowel and hawk. Flatten the surface with a straight edge or float to close the pores and bring the fine aggregate to the surface.
5. Use a damp (not wet) sponge in gentle circular motions to smooth the final finish. Protect the fresh render from direct sunlight, wind, and frost using a breathable sheet or hessian cloth, and keep it slightly damp for a few days to cure properly.
Build Works
〰️
Repairs
〰️
Decorating
〰️
Build Works 〰️ Repairs 〰️ Decorating 〰️
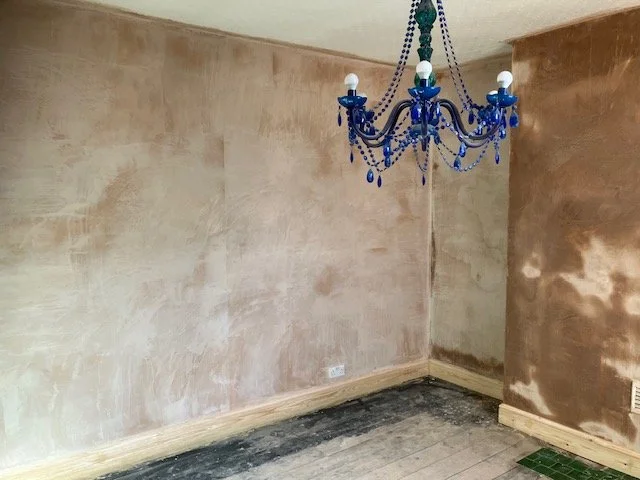
Plastering
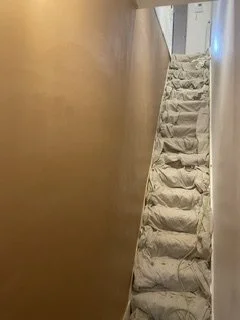
Plastering a wall is the process of applying a smooth or textured layer of building material—such as gypsum, lime, or cement—over interior or exterior wall surfaces to create a clean, flat, and durable finish.
Main Types of Plaster
· Gypsum Plaster: A popular interior choice made from gypsum minerals and water, valued for a smooth finish and fire resistance.
· Cement Plaster: A tough mix of cement, sand, and water used for robust indoor or outdoor durability.
· Lime Plaster: A traditional, flexible, and breathable option often used in older or period homes.
Our Method
Preparation: Clean the wall, remove loose debris or old wallpaper, and repair deep holes.
Priming: Apply a primer or PVA adhesive so the wet plaster grips the surface.
Mixing: Blend the dry plaster powder with clean water until it forms a creamy consistency.
Application: Use a trowel and hawk to apply base and finish coats evenly across the wall.
Smoothing: Flatten and polish the surface using a trowel or skimming tool before the plaster fully sets.
You can tell a wall needs replastering when it sounds hollow, shows deep or shifting cracks, or has crumbling surfaces that indicate the plaster has separated from the wall behind it.
Hollow or drumming sound: Tap the wall with your knuckles. A solid wall makes a dull thud, but a hollow or rattling sound means the plaster has "blown" and detached from the brick or lath.
Deep or moving cracks: Hairline cracks are normal settling, but wide cracks, diagonal cracks near windows and doors, or cracks where one side moves when pressed mean the base is failing.
Damp and water stains: Yellow or brown water marks, peeling paint, or white powdery salt deposits mean moisture has broken down the plaster bond.
Crumbling or chalky texture: If the surface falls away as dust or loose chunks when you touch it, the material is too old and weak to hold paint.
Severely uneven surfaces: Bumpy, wavy, or heavily patched walls from old DIY jobs or removed textured wallpaper may need a fresh skim coat for a smooth finish.
Tanking
Tanking for damp is a waterproofing process that applies a specialized coating—usually a polymer-modified cementitious slurry—to interior masonry walls and floors to create a watertight barrier against water ingress. The process of applying a continuous, waterproof barrier or coating to a building's interior or exterior surfaces to block groundwater and prevent dampness.
Where It Is Used
Basements and Cellars: Subterranean rooms converted into dry, usable living spaces.
Retaining Walls: Earth-retaining garden or structural walls.
Wet Rooms and Vaults: Areas prone to high moisture or below the local water table.
Our Methods
Cementitious Slurries: A thick mix of cement, sand, and chemicals painted or trowelled onto masonry walls that bonds directly to the brick.
Bituminous Coatings: Heavy black, tar-like waterproof paints used to seal out moisture.
Cavity Drain Membranes: Plastic, dimpled sheets that catch seeping water and guide it safely into a sump pump system
Shape Your Project’s Future
Send us your specs, and our specialists will collaborate with you to engineer the breakthrough solution you need.